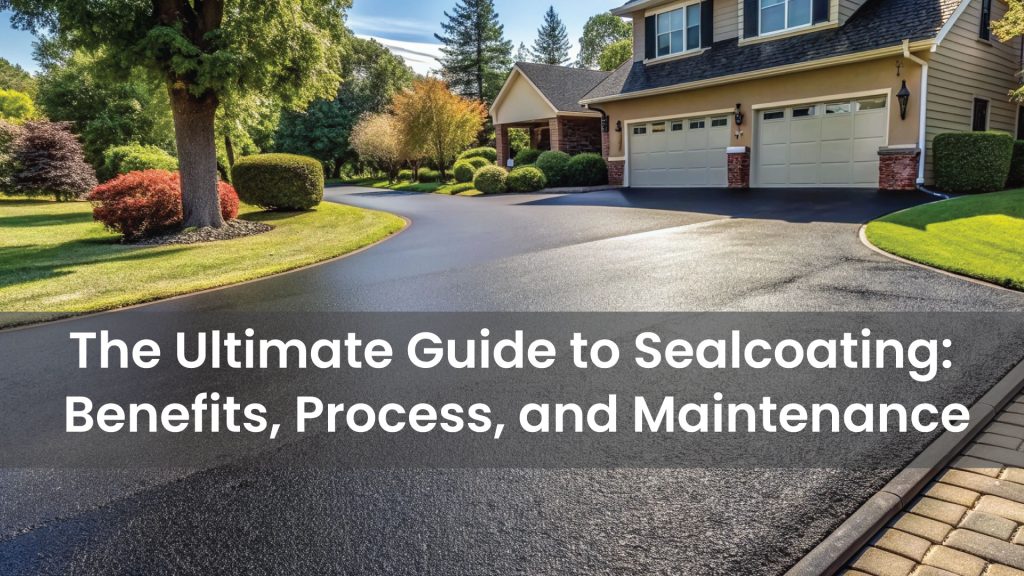
Asphalt surfaces endure daily wear and tear from traffic, weather, and time. To maintain their appearance and functionality, sealcoating is an essential step. This comprehensive guide covers the benefits of sealcoating, its application process, and tips for proper maintenance. Whether you’re a homeowner or a business owner, understanding sealcoating can save you money and prolong your asphalt’s lifespan.
What is Sealcoating?
Sealcoating is the application of a protective layer over asphalt surfaces, such as driveways and parking lots. This layer shields the asphalt from harmful elements, including UV rays, water, oil, and chemicals. It also restores the dark black appearance of asphalt, enhancing curb appeal.
Benefits of Sealcoating
1. Extends Asphalt Lifespan
Sealcoating acts as a barrier, protecting asphalt from damage caused by oxidation, water penetration, and chemicals. This helps to prevent cracks and potholes, extending the life of your pavement.
2. Enhances Appearance
Over time, asphalt fades to a dull gray due to sun exposure and traffic. Sealcoating restores its deep black color, making the surface look fresh and well-maintained.
3. Prevents Water Damage
Asphalt is porous, which means water can seep into it, leading to cracks and potholes. Sealcoating provides a waterproof layer, preventing water from penetrating the surface.
4. Reduces Maintenance Costs
Regular sealcoating reduces the need for costly repairs. By addressing minor issues early, you avoid larger, more expensive problems in the future.
5. Protects Against UV Rays and Chemicals
Sealcoating shields asphalt from the sun’s UV rays, which can cause oxidation and brittleness. It also protects against damage from oil, gasoline, and other chemicals that can weaken asphalt.
The Sealcoating Process
Sealcoating involves several crucial steps to ensure the best results. Here’s a breakdown of the process:
1. Preparation
Preparation is key to effective sealcoating. The surface must be clean and free of debris, oil, and grease. Cracks and potholes should be repaired before applying the sealcoat.
- Cleaning: Use a power washer or blower to remove dirt and debris.
- Oil Removal: Apply a degreaser to remove oil stains.
- Crack Repair: Fill cracks with an asphalt filler to create a smooth surface.
2. Choosing the Right Sealcoat
Different types of sealcoating products are available, such as coal tar and asphalt emulsion. Choose a product that suits your climate and traffic conditions. Professional contractors can help you select the best option.
3. Application
Sealcoating is typically applied using a brush, squeegee, or spray. For best results, apply two thin coats instead of one thick coat. This ensures even coverage and proper drying.
- First Coat: Spread the sealcoat evenly across the surface.
- Drying Time: Allow the first coat to dry completely before applying the second.
- Second Coat: Repeat the application for added protection and durability.
4. Curing
Sealcoating needs time to cure before the surface can handle traffic. Typically, this takes 24 to 48 hours, depending on weather conditions.
Maintenance Tips for Sealcoated Surfaces
Proper maintenance can prolong the benefits of sealcoating. Follow these tips to keep your asphalt in top condition:
1. Clean Regularly
Sweep or wash your asphalt surface regularly to remove debris, oil, and other contaminants. This prevents stains and minimizes wear.
2. Address Cracks Immediately
Even with sealcoating, cracks may develop over time. Repair them promptly to prevent further damage and water infiltration.
3. Restrict Heavy Traffic
Avoid parking heavy vehicles, such as trucks or RVs, on sealcoated surfaces for extended periods. Excessive weight can cause premature wear.
4. Reapply Sealcoat as Needed
Sealcoating should be reapplied every two to three years, depending on traffic levels and environmental conditions. Regular applications maintain protection and appearance.
5. Avoid Harsh Chemicals
Refrain from using harsh chemicals or de-icing salts on your asphalt. These substances can degrade the sealcoat and weaken the underlying asphalt.
Common Myths About Sealcoating
Myth 1: Sealcoating Repairs Cracks
Sealcoating is not a substitute for crack repair. Always fill cracks before applying a sealcoat for the best results.
Myth 2: Sealcoating Can Be Done Anytime
Weather plays a critical role in sealcoating. For optimal curing, temperatures should be above 50°F, and the weather should be dry.
Myth 3: Sealcoating is Only for Aesthetic Purposes
While sealcoating improves appearance, its primary purpose is protection. It prevents damage from elements like water, UV rays, and chemicals.
Why Hire Professionals for Sealcoating?
While DIY sealcoating may seem cost-effective, professional services offer significant advantages:
- Expertise: Professionals know how to prepare surfaces, choose the right materials, and apply sealcoat evenly.
- Efficiency: They complete the job quickly and effectively, minimizing disruptions.
- Long-Lasting Results: Professional-grade sealcoating lasts longer and provides better protection.
Sealcoating is an essential maintenance practice for asphalt surfaces. It extends the life of your pavement, enhances its appearance, and saves you money on repairs. By understanding the benefits, process, and maintenance of sealcoating, you can ensure your driveway or parking lot remains in top condition for years to come. For the best results, consider hiring professional sealcoating services. Protect your investment and enjoy the benefits of a well-maintained asphalt surface.
About the author:
Express Asphalt Solutions, is your premium asphalt business in Florida. With a focus on quick, affordable, and top-notch services. We specialize in asphalt paving and repair, seal coating, as well as parking lot striping. Our skilled team ensures your parking areas are safe, organized and visually appealing. From commercial properties to residential communities, we cater to all your asphalt needs with precision and care. Enhance the functionality and appearance of your parking spaces with our quality solutions. Contact us now for a free quote and experience the different Express Asphalt Solutions can make!
See some of our Client’s review here
"*" indicates required fields


